Freezing Cooked Meat Without Losing Texture
Freezing cooked meat is a common kitchen practice, but the transition from freezer to plate can alter the texture of stews and roasts in ways that are not always desirable. The process involves several stages—cooling, wrapping, freezing, thawing, and reheating—each of which influences moisture retention and protein structure. Understanding these stages provides a framework for making informed choices rather than relying on guesswork.
This article outlines methods for handling cooked meat with an emphasis on texture preservation. It focuses on the principles behind cooling, packaging, and thawing, and it describes how different approaches may affect the final result. The information is intended for general kitchen use and does not replace professional food safety guidance; individual outcomes depend on many variables, including meat type, cooking method, and storage conditions.
By examining each step in sequence, it is possible to identify where texture loss occurs and which techniques are associated with better moisture retention. The goal is to present a clear, process-oriented view that supports consistent practice without promising specific results.
Cooling Cooked Meat: The First Critical Step
After cooking, meat should be cooled promptly but not abruptly. Placing a hot stew or roast directly into the refrigerator can raise the internal temperature of the appliance and create uneven cooling, which may affect both safety and texture. A common approach is to divide large portions into smaller containers to increase the surface area, allowing heat to dissipate more evenly. This step also reduces the time the meat spends in the temperature range where microbial growth is most likely.
Rapid cooling does not mean shock cooling. The goal is to bring the meat down to refrigeration temperature within a reasonable timeframe while maintaining its structure. Stirring stews occasionally during cooling can help release heat, but aggressive stirring may break apart tender pieces. For roasts, leaving the meat intact during initial cooling and carving later can help retain juices. Once the meat has stopped steaming, it can be covered and transferred to the refrigerator.
The cooling phase also sets the stage for packaging. Meat that is still warm will produce condensation inside the wrapping, which can lead to ice crystal formation and surface freezer burn. Allowing the meat to cool completely in the refrigerator before wrapping is a practical way to minimize excess moisture. This intermediate step is often overlooked but plays a role in how well the texture is preserved during frozen storage.
Packaging Techniques for Moisture Retention
The primary enemy of frozen cooked meat is air. Exposure to air leads to dehydration, oxidation, and the formation of ice crystals on the surface. Proper packaging creates a barrier that limits these effects. Several methods are available, and the choice depends on the type of meat and the intended storage duration.
- Vacuum sealing removes air from the package and creates a tight barrier; it is often associated with longer storage stability.
- Heavy-duty freezer bags allow air to be pressed out manually; they are convenient for stews and irregular pieces.
- Double wrapping with plastic wrap and aluminum foil provides a physical barrier and is useful for roasts that need to hold their shape.
- Rigid containers with tight-fitting lids are suitable for liquid-rich stews, leaving headspace for expansion.
Regardless of the method, it is important to label packages with the date and contents. This practice supports rotation and helps avoid prolonged storage, which can gradually degrade texture even under ideal conditions. For stews, packaging the meat with some of its cooking liquid can help maintain moisture during reheating, as the liquid provides a medium for heat transfer and reduces direct exposure to dry air.
Portion size also matters. Freezing in smaller portions allows for faster thawing and avoids repeated freeze-thaw cycles that can damage texture. When packaging roasts, consider slicing or portioning before freezing so that only the amount needed is thawed. This approach limits the number of times the meat is exposed to temperature fluctuations.
Thawing Methods and Their Impact on Texture
Thawing is often the stage where texture is most noticeably affected. The goal is to raise the meat’s temperature evenly without allowing it to sit in a warm environment for too long. Refrigerator thawing is generally considered the most controlled method; it is slow but minimizes temperature abuse. Placing the frozen package on a plate or tray to catch drips and allowing it to thaw overnight is a common practice. The time required depends on the size and density of the package.
Cold water thawing can be faster but requires attention. The meat should be kept in a leak-proof package and submerged in cold water that is changed every thirty minutes. This method is suitable for smaller portions and can be useful when time is limited. However, it introduces more variables, such as water temperature and package integrity, which can affect the outcome. Microwave thawing is another option, but it often results in uneven heating, with some areas beginning to cook while others remain frozen. This unevenness can alter texture, so it is generally used only when the meat will be immediately reheated.
For stews, thawing in the refrigerator allows the liquid and solid components to separate slightly, which can be stirred back together during reheating. For roasts, thawing slowly helps retain juices that might otherwise be lost if the meat is heated too quickly. In all cases, avoiding room-temperature thawing is advisable because it creates conditions where the outer layers warm faster than the interior, potentially leading to texture loss and food safety concerns.
Reheating with Texture in Mind
Reheating is the final opportunity to influence texture. The method should be gentle and aim for even heating. For stews, reheating on the stovetop over low heat with occasional stirring allows the meat to warm gradually. Adding a small amount of liquid—such as broth or water—can help prevent sticking and create a moist environment. Bringing the stew to a gentle simmer rather than a rolling boil helps avoid excessive contraction of muscle fibers.
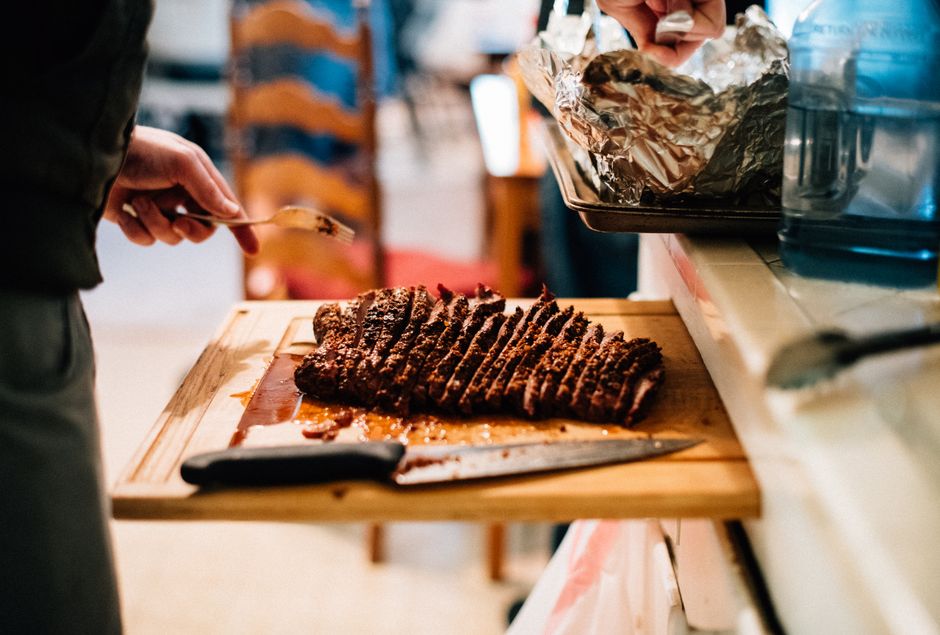
Roasts benefit from reheating in an oven set to a low temperature, covered to retain moisture. Slicing the meat before reheating can reduce the time needed and promote even warming, but it may also increase moisture loss. An alternative is to reheat whole roasts and carve afterward, which can help retain juices. In either case, using a thermometer to monitor internal temperature provides a reference point and helps avoid overheating, which can dry out the meat.
It is worth noting that reheated meat will not be identical to freshly cooked meat. Some changes in texture are inevitable, and the extent depends on the original cooking method, the cut of meat, and the storage duration. The techniques described here are intended to minimize undesirable changes rather than eliminate them entirely. Consistency in cooling, packaging, and thawing can make a noticeable difference in the eating quality of frozen and reheated dishes.
Texture preservation is a cumulative process; no single step can compensate for shortcomings in another. Attention to each stage supports a more predictable outcome.
Practical Considerations and Common Pitfalls
Several practical factors influence the success of freezing cooked meat. The fat content of the meat, for example, can affect how well it freezes and reheats. Fatty cuts may experience more oxidation over time, while lean cuts may dry out more easily. The cooking liquid in stews can also change consistency after freezing; starches may separate or become grainy, and this can be addressed by reheating gently and stirring. For roasts, the presence of a crust or seasoning can affect moisture retention, and wrapping tightly helps protect these surfaces.
Another consideration is the freezer itself. Maintaining a consistent temperature and avoiding overfilling can help ensure that packages freeze quickly and evenly. Frequent opening of the freezer door causes temperature fluctuations that can lead to ice crystal growth. Organizing the freezer so that older items are used first supports rotation and reduces the likelihood of extended storage, which is associated with gradual texture decline.
Finally, it is important to recognize that individual results will vary. The type of meat, the recipe, the cooling rate, the packaging method, and the thawing approach all interact. Keeping notes on what works in a particular kitchen can help refine practices over time. The information provided here is general and does not guarantee specific outcomes; it is intended to support informed decision-making within the context of each cook’s own experience and equipment.